Charalambos Geronikolas Reading Time : 4 minutes Azure
Nowadays, most companies are disallowed the native Remote Access (RDP), especially from the outside world. So, Azure Bastion is an extra layer of security to have native Remote Access (RDP). One of my cases was transferring files to the Azure VMs. From the Azure portal, you cannot do this. In this article, I will show how you can have native RDP access and transfer files. Of course, you can also use the Azure Virtual Desktop as a jump host, but this is another case.
What is Azure Bastion
Azure Bastion is a comprehensive managed service that offers enhanced security and seamless access to virtual machines (VMs) via Remote Desktop Protocol (RDP) and Secure Shell Protocol (SSH), while eliminating the vulnerability associated with exposure through public IP addresses. For more information, you can visit here
Prerequisite
- You will need to enable the Native Client on the Azure Bastion
- You will need to install the Azure CLI on your machine.
How to enable Native Client on Azure Bastions
When you set up the Azure Bastion on the Azure Portal, you can choose what Tier you will use.
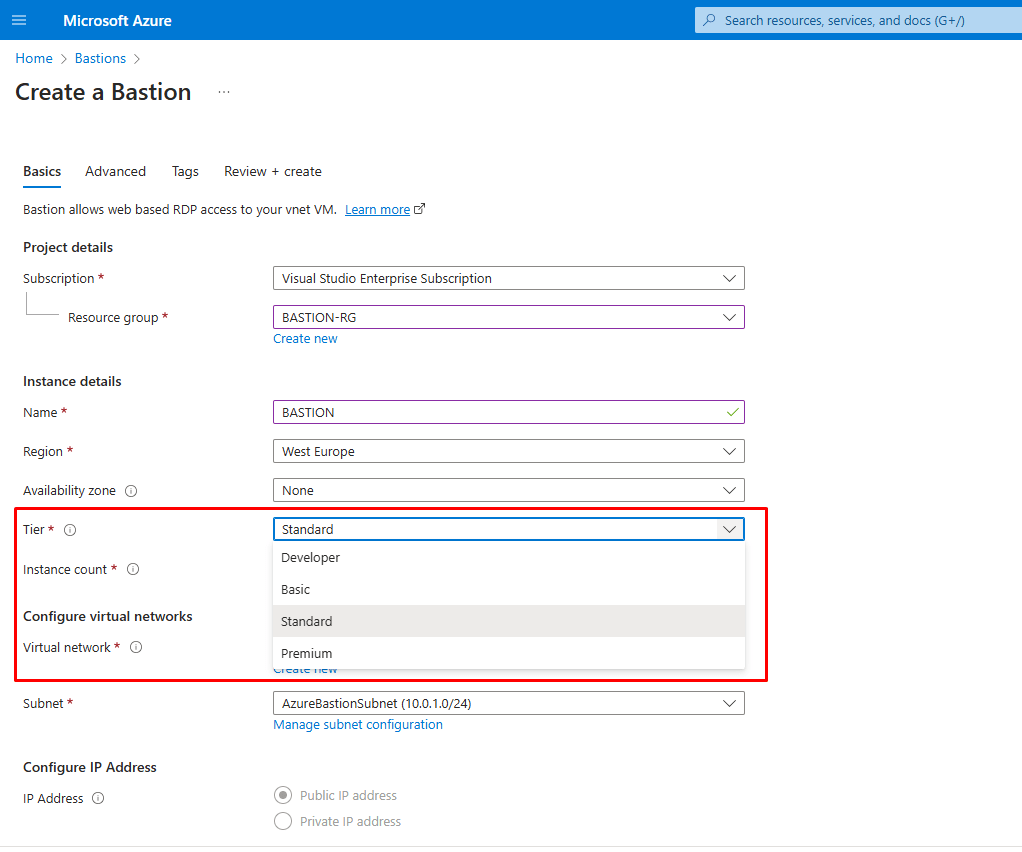
The Basic Tier provides you access to Linux (SSH Access) or Windows (RDP Access) VM’s. To obtain native RDP access, you will need to upgrade the Tier from Basic to Standard, which allows you to transfer files and use the classic mstsc.exe.
Please note, if you are using Basic Tier, you can upgrade it to Standard.
Differences between Tiers
Developer SKU
- Purpose: Ideal for Dev/Test users.
- Features:
- Connect to one Azure VM at a time.
- No dedicated Bastion host; part of a shared pool.
- Limited features compared to other SKUs.
- No support for VNet peering
Basic SKU
- Purpose: Suitable for small-scale deployments.
- Features:
- Connect to VMs in the same virtual network.
- Support for concurrent connections.
- Access Linux VM Private Keys in Azure Key Vault (AKV).
- Connect to the Linux VM using SSH and the Windows VM using RDP
Standard SKU
- Purpose: Suitable for production environments.
- Features:
- All features of Basic SKU.
- Connect to VMs in peered virtual networks.
- Support for custom inbound ports.
- Host scaling.
- Upload or download files.
- Kerberos authentication.
- Shareable link for VM access.
- Connect to VMs via IP address
Premium SKU
- Purpose: Advanced features for enterprise environments.
- Features:
- All features of the Standard SKU.
- Session recording.
- Private-only deployment
For more information regarding the tiers, please visit here
In my scenario, I will upgrade the Basic to Standard Tier from the Azure Portal
Log in to the Azure Portal and search for Bastion. Then, go to Settings -> Configuration and select the Standard Tier, then enable the Native Client. See the screenshot below

Also, you can do this with Azure CLI
#Open your terminal and log in to Azure
az login
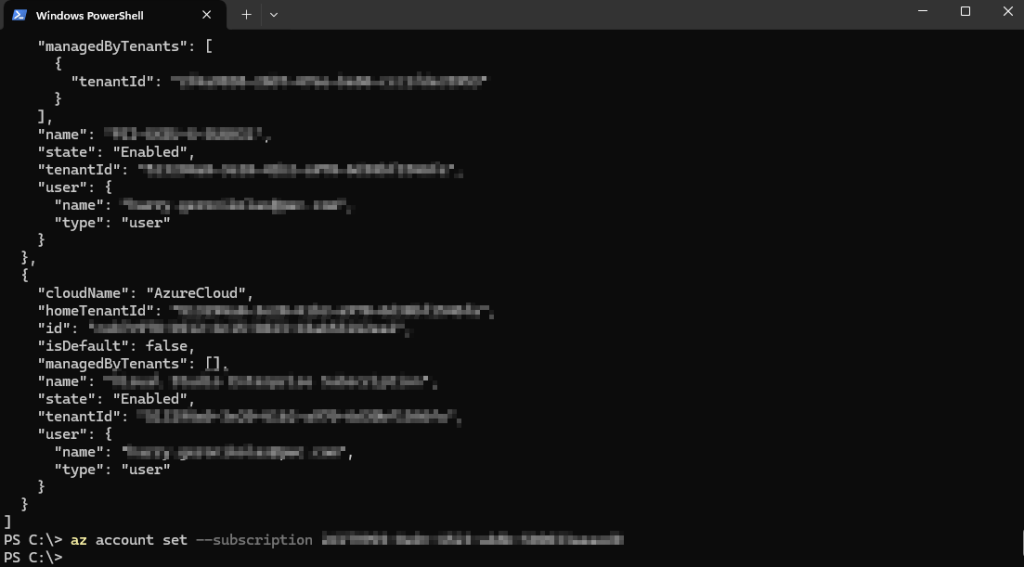
#Set the subscription you want to use
az account set --subscription "your-subscription-id"
#Upgrade the Bastion tier
az network bastion update --name your-bastion-name --resource-group your-resource-group --sku StandardOr using PowerShell
#Open your PowerShell and log in to Azure:
Connect-AzAccount
#Set the subscription you want to use:
Set-AzContext -SubscriptionId "your-subscription-id"
#Upgrade the Bastion tier
$bastion = Get-AzBastion -ResourceGroupName "your-resource-group" -Name "your-bastion-name"
$bastion.Sku.Name = "Standard"
Set-AzBastion -Bastion $bastion
How to install Azure CLI
You can download the latest Azure CLI from here. Otherwise, you can visit the Microsoft Learn site here.
Also you can use the below PowerShell command :
$ProgressPreference = 'SilentlyContinue'; Invoke-WebRequest -Uri https://aka.ms/installazurecliwindowsx64 -OutFile .\AzureCLI.msi; Start-Process msiexec.exe -Wait -ArgumentList '/I AzureCLI.msi /quiet'; Remove-Item .\AzureCLI.msiHow to create the connection for RDP
To establish the connection, you need to log in to your Azure Subscription and set it as the default.
You will need to open PowerShell with elevated permissions and run the commands below
#Login to Azure Portal
az login
#Set you subscription in case you have multiple subscriptions
az account set --subscription "<subscription ID>"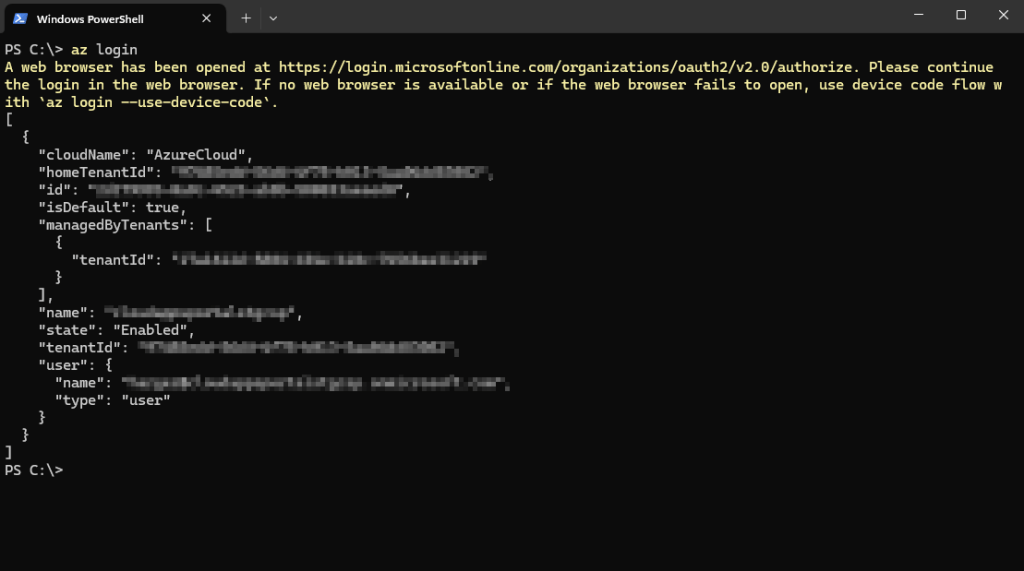
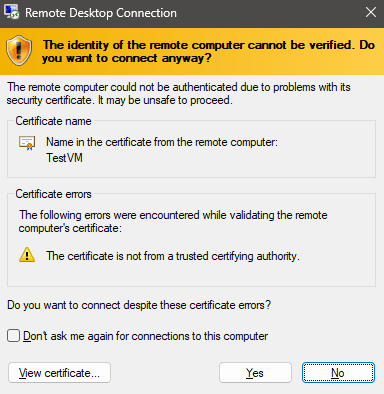
Run the below command in order to establish RDP connection.
az network bastion rdp --name "<BastionName>" --resource-group "<BastionResourceGroupName>" --target-resource-id "<VMResourceId>"To find the target-resource-id, you will need to open the Azure CLI and run the following command.
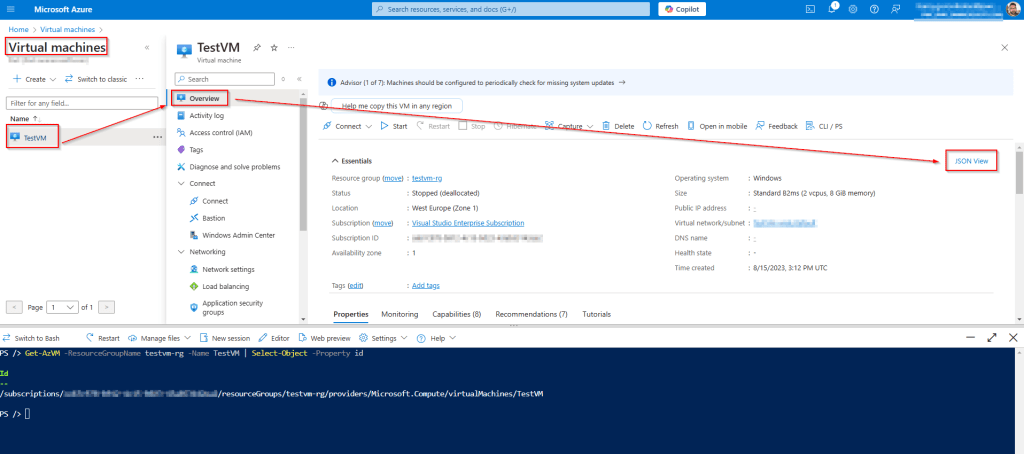
Get-AzVM -ResourceGroupName <YourResourceGroupName> -Name <Hostname> | Select-Object -Property id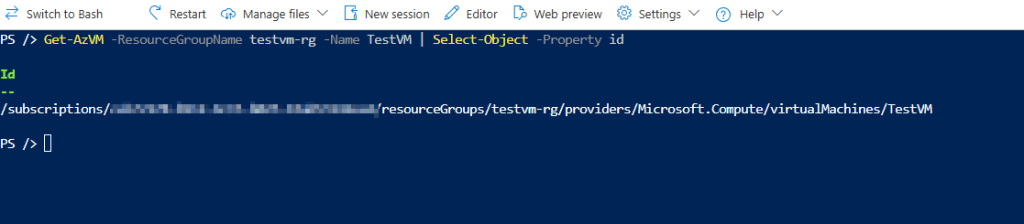
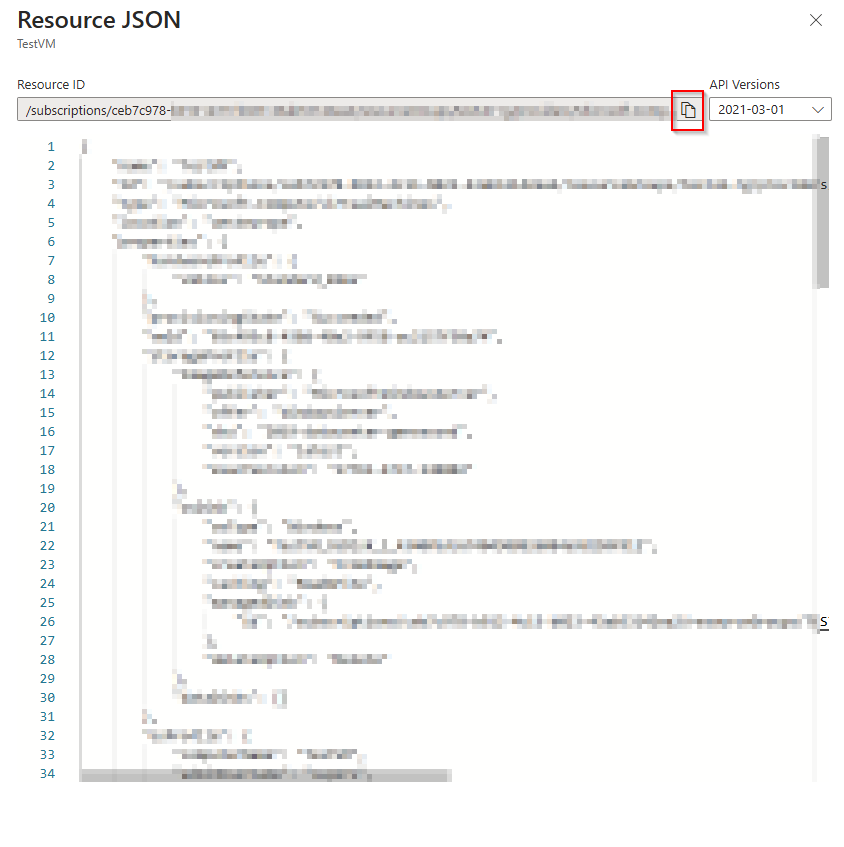
OR you can find it from the Azure Portal. You will need to go to Virtual Machines, select the Virtual Machine that you want to connect via RDP , go to Overview, and then select the JSON on the upper right of the screen.
So, in my case, the command will be below.
az network bastion rdp --name "BASTION" --resource-group "BASTION-RG" --target-resource-id "/subscriptions/ceb7c978-***-****-****-43ab531****/resourceGroups/testvm-rg/providers/Microsoft.Compute/virtualMachines/TestVM"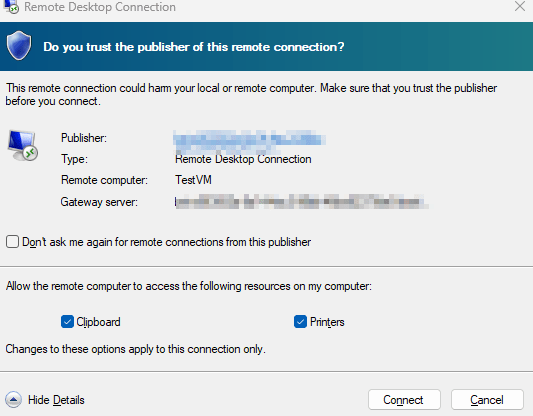
For more features on the RDP connection, just use the same command, and at the end of the command, just add –configure
az network bastion rdp --name "BASTION" --resource-group "BASTION-RG" --target-resource-id "/subscriptions/ceb7c978-***-****-****-43ab531****/resourceGroups/testvm-rg/providers/Microsoft.Compute/virtualMachines/TestVM" --configure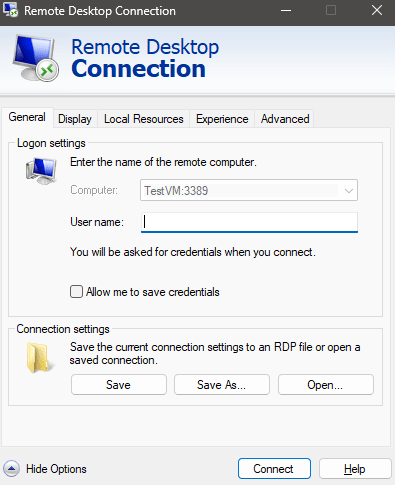

I hope you found this article helpful!!! There’s more coming your way, so stay tuned!